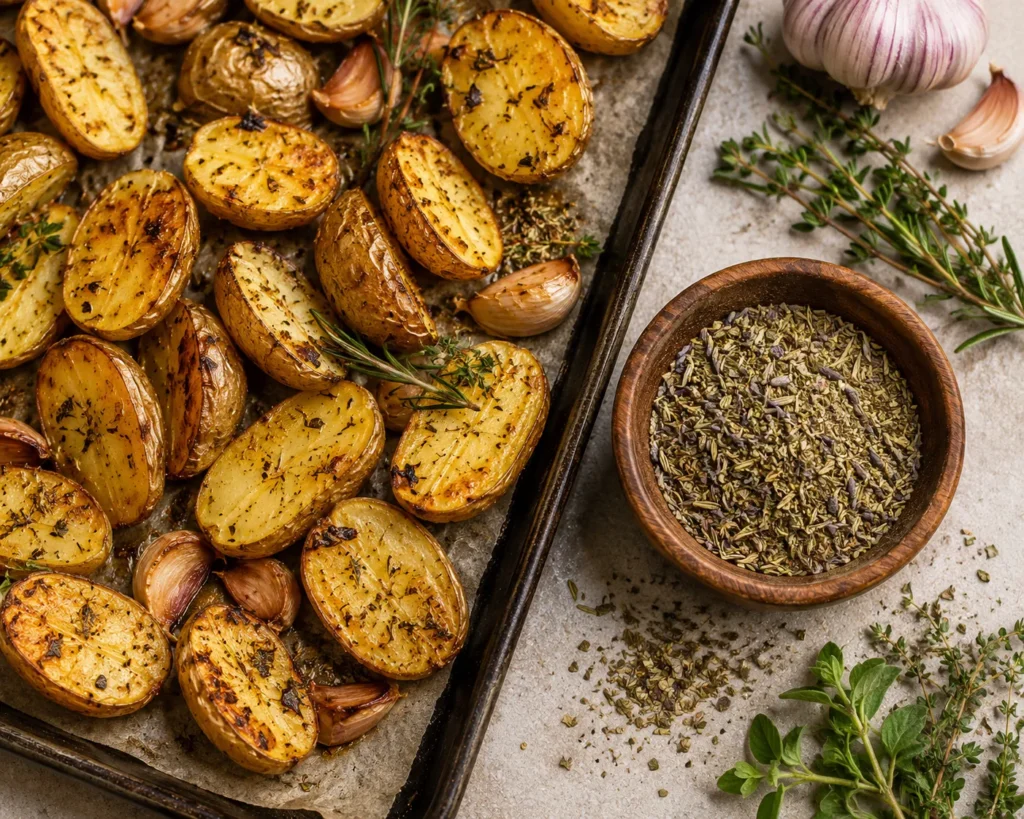
French Herbes de Provence for Roasts & Vegetables
Herbes de Provence is a fragrant French herb blend for vegetables, fish, chicken and potatoes. Thyme, savoury, rosemary and oregano give it warmth, while a little fennel and optional lavender add a southern French note.
Servings
Ingredients
- 2 tbsp dried thyme
- 2 tbsp dried savoury
- 1 tbsp dried rosemary lightly crushed
- 1 tbsp dried oregano
- 1 tbsp dried marjoram
- 1 tsp dried lavender optional and very light
- 1 tsp fennel seeds lightly crushed
Instructions
- Lightly crush the rosemary and fennel seeds so they distribute evenly through the blend.1 tbsp dried rosemary, 1 tsp fennel seeds
- Mix the thyme, savoury, rosemary, oregano, marjoram, lavender and fennel seeds in a small bowl.2 tbsp dried thyme, 2 tbsp dried savoury, 1 tbsp dried rosemary, 1 tbsp dried oregano, 1 tbsp dried marjoram, 1 tsp dried lavender, 1 tsp fennel seeds
- Spoon into a clean jar and store in a cool, dark cupboard.
- Use sparingly with chicken, fish, potatoes, grilled vegetables or tomato-based dishes.
Nutrition per serving
Calories: 3kcal | Carbohydrates: 1g | Protein: 0g | Fat: 0g | Saturated Fat: 0g | Sodium: 1mg | Fiber: 0g | Sugar: 0g